Have you ever struggled to take screenshots on Windows? Well in this brief article, I will show you two easy methods to take screenshots on a Windows device without any third-party application. Keep reading.
Method 1: The shortcut key
This method only requires three steps;
Step-1: Press Ctrl + PrtScrn key at the same time. The Print Screen key is at the top of the keyboard.
Original Image from: Pixabay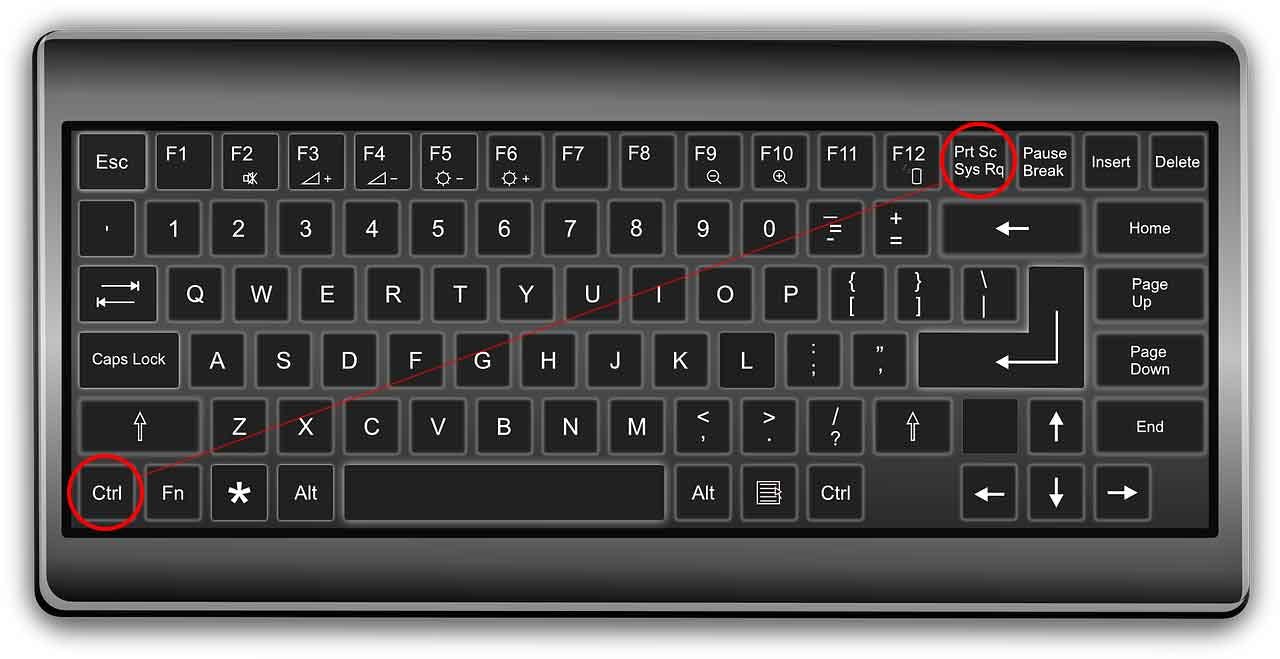
Step-2: Press the Windows key and search for Paint. Open it up and press Ctrl+V to paste the screenshot.


Step-3: Go to File and select Save as and choose the format and hit save.
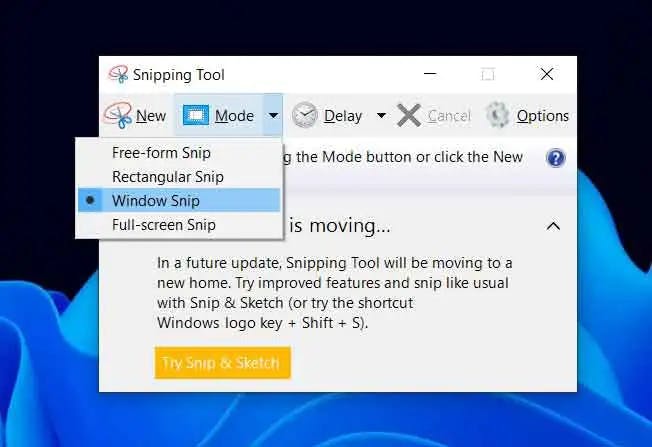
Method 2: Use the snipping tool.
Snipping tool is a Windows built-in application used to take screenshots in Windows. Press the Windows key on the keyboard and search for the snipping tool and open it up. Choose mode and click the screen on which you want to take a shot. A new window will show up. Save your screenshot to your PC.
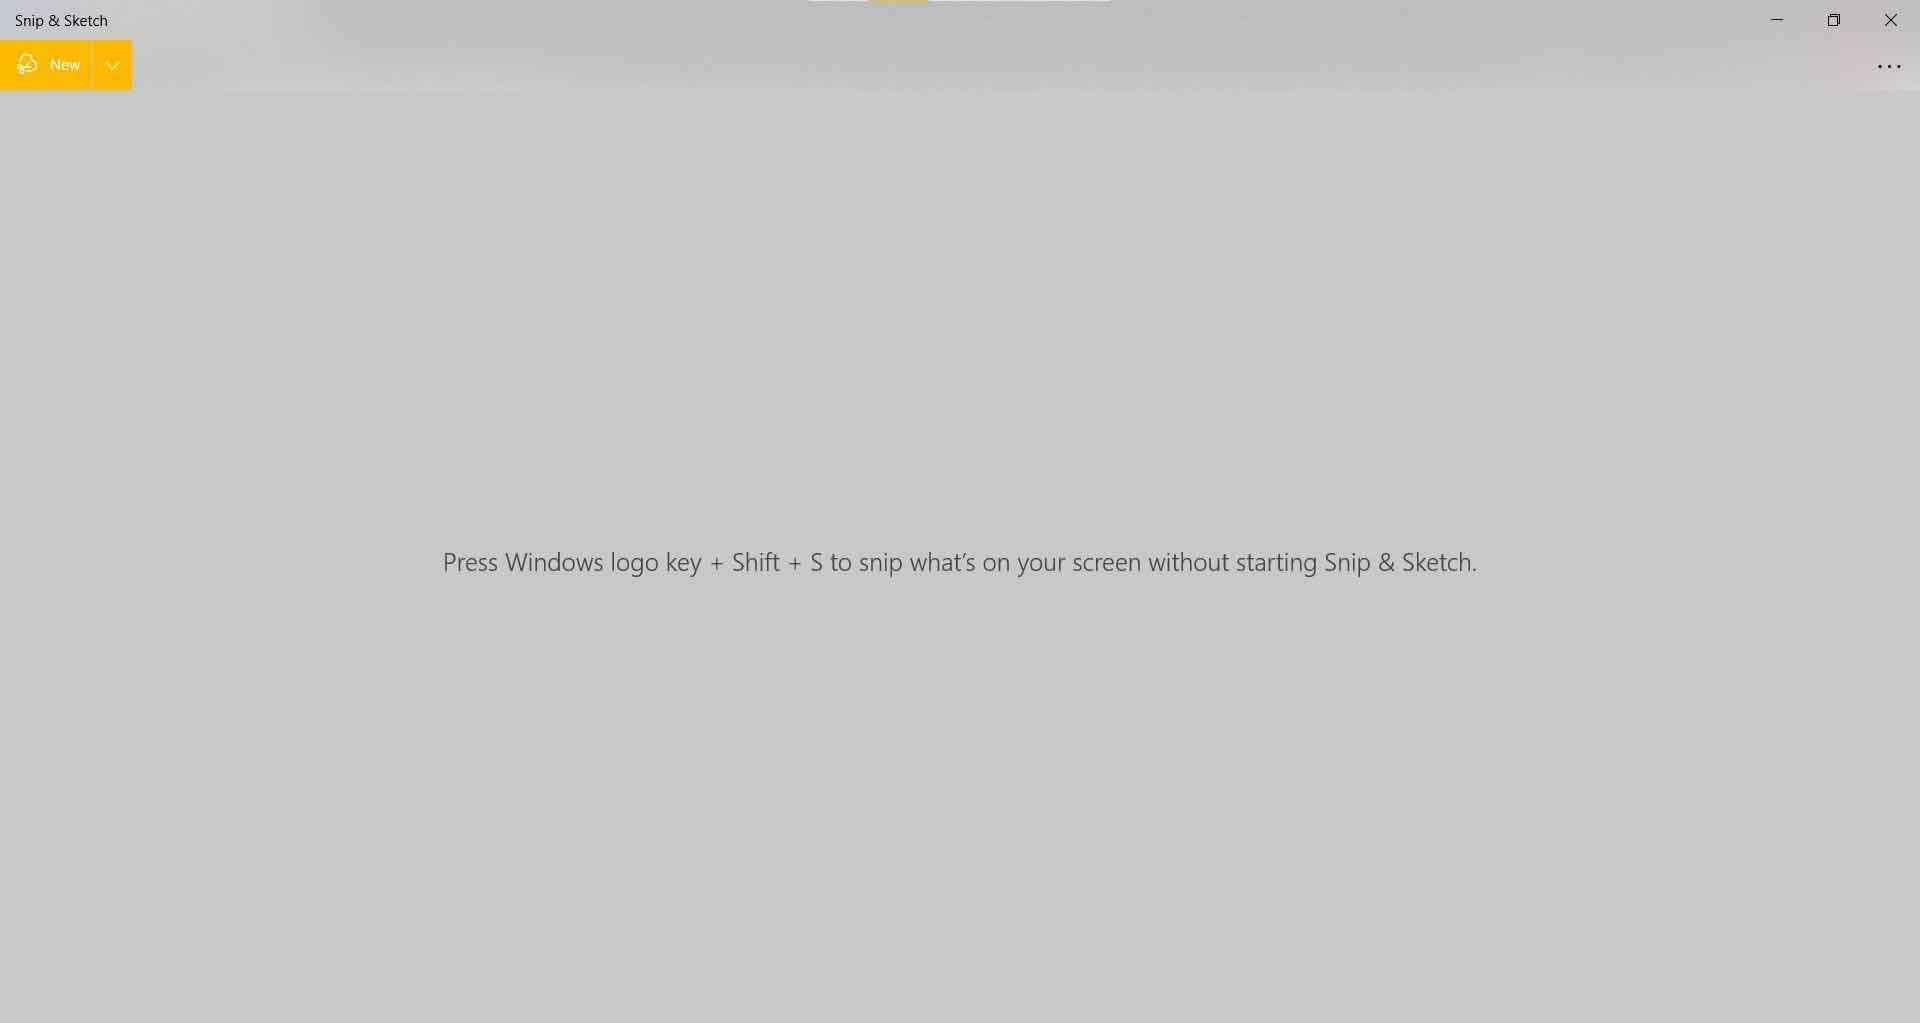
Method 3: Use Snip & Sketch
You can use this method only if you have Windows 10 PC. Open up the Microsoft Store and install Snip & Sketch app. Once installed you can open it manually or by using a shortcut key + shift + s . Choose full-screen mode or draw an area to capture. A prompt will show up, click on it, and this will take you to the app where you can edit and save your screenshot.